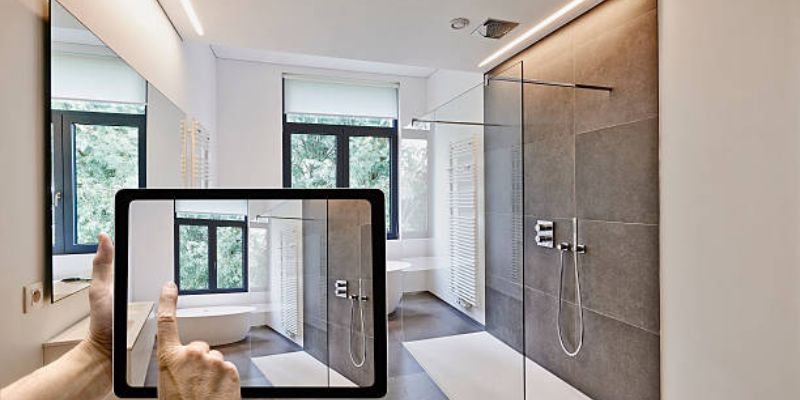
Upgrading your shower screen can give your bathroom a fresh look and improve functionality. However, installing a shower screen can seem challenging if you haven’t done it before. You can measure and install a shower screen like a pro with the right tools and approach. Here’s a step-by-step guide to ensure a smooth installation.
Step 1: Gather the Necessary Tools
Before starting, make sure you have all the tools needed for installation:
- Measuring tape
- Pencil or marker
- Level
- Drill
- Screwdriver
- Silicone sealant and caulking gun
- Spirit level
- Masking tape
- Protective gloves and eyewear
Having everything ready beforehand will save time and ensure a more efficient installation.
Step 2: Measure Your Shower Space Accurately
One of the most critical steps in shower screen replacement is accurate measuring. Here’s how to do it:
Width Measurement: Use a measuring tape to measure the width of the opening where you’ll install the screen. Measure from wall to wall at the top and bottom to check for inconsistencies, as walls may not be perfectly aligned. Use the smaller measurement to avoid any fitting issues.
Height Measurement: Measure the height from the floor to the top of where you want the shower screen to sit. Standard screens vary in height, so knowing your preferred dimensions will help you choose the right screen.
Double-Check Measurements: It’s always best to measure twice to avoid mistakes. An incorrect measurement could result in a poorly fitting screen, which may require adjustments or, in some cases, a new screen altogether.
Step 3: Choose the Right Shower Screen
When selecting a new shower screen, consider the available types: framed, semi-frameless, and frameless. Each style offers a unique look and has specific installation requirements. Framed screens provide stability, while frameless screens offer a sleek, modern appearance. Consider your bathroom’s style and your personal preferences when choosing a screen.
Step 4: Install the Shower Screen
Once you have the screen and tools ready, it’s time to install it. Follow these steps to ensure a secure fit.
Mark the Placement: Place the shower screen in position and mark where it will be installed. Use a pencil to mark the drill holes for the screen frame or brackets, following the manufacturer’s instructions closely.
Drill Holes and Secure Brackets: Use a drill to make holes at the marked points. If drilling into tiles, use a drill bit suitable for the tile to prevent cracking. After drilling, secure the brackets or frame to the wall using screws, ensuring they are tight and level.
Position the Shower Screen: Carefully position the screen into the installed frame or brackets. Make sure it’s properly aligned with the walls and floor. Use a spirit level to check that everything is even and aligned.
Apply Silicone Sealant: To prevent leaks, apply a bead of silicone sealant along the edges of the shower screen, where it meets the wall and floor. Smooth it with a finger or caulking tool to ensure an even application. Silicone will create a waterproof barrier and help keep your shower screen firmly in place.
Secure and Test the Installation: Once the screen is in place, secure any additional screws or fasteners. Open and close the shower screen to ensure it operates smoothly and doesn’t wobble. If everything feels stable, allow the silicone sealant to cure for at least 24 hours before using the shower to ensure a watertight seal.
Step 5: Final Check and Maintenance Tips
After completing the shower screen Sydney, do a final inspection to ensure everything is correctly installed. Clean up any excess silicone with a damp cloth. To keep your shower screen looking new, follow these maintenance tips:
- Regular Cleaning: Use a gentle, non-abrasive cleaner to remove soap scum and water stains. Avoid harsh chemicals, as they may damage the glass or frame.
- Wipe Down After Each Use: Wipe down the screen with a squeegee or soft cloth after each shower to prevent water spots and buildup.
- Check for Sealant Wear: The silicone sealant may need to be reapplied over time. Inspect it regularly to prevent leaks.
Measuring and installing a shower screen can be straightforward with the right tools and careful attention to detail. Following these steps will give you a stylish, functional shower screen that enhances your bathroom. Whether you’re tackling a DIY project or hiring a professional, a successful shower screen replacement can elevate the look and feel of your bathroom for years to come.
